Visual Language: Color

Here's my score for the hue test. I think the scoring system is not totally right...

Since I started school at ITP, my life has been elevators, subways, and sometimes some trees. Although it sounds a bit sad, I'm still enjoying myself. 

The below image consists of the main colors from my collected photos. The hierarchy I chose is simply the altitude where these colors appear. For example, from blue skies, to green trees. To the grey elevators and to the eclectic colors I see in the advertisements of the N and R trains. This eyeball represents the sort of insomnia I'm experiencing these days.

Intro to Comp Media: Repetition

https://alpha.editor.p5js.org/projects/SyZG0BV6

In this week's assignment, Grau and I created a sketch that includes differently sized circles depending on the position of the mouse. These circles will then grow or shrink depending on the mouse state (clicked or released, respectively). The user is able to stop and start the circles from changing by hitting any button on the keyboard.

We took a bit of inspiration from both mine and Grau's previous assignments. The growing and shrinking circle was a new feature in Grau's assignment, and the logic for changing colors and size depending on the mouse position was from my previous assignment. We combined these features and added the logic that calculates the distance from any circle to the mouse. The interaction was then added so that the user is able to control the expansion and reduction of the circles.

Intro to Phys Comp: Observation

I chose the elevator at ITP to observe for this week's assignment. One aspect I have always enjoyed about an elevator is that it gave a physical feedback that is uncommon in most other technologies: momentum. Although momentum is found in almost every mode of transportation, an elevator is different because there are usually no windows. You must rely on your sense of momentum to determine if something has gone horribly wrong.

Assumptions and expected results:

People request an elevator to go up or down. They get in the elevator and select the floor they wish to go on. Once enough time has gone by with no interruptions, the elevator goes to the desired floors. The doors open and the person exits. It is always used when a person needs to travel vertically within a building.

Some observations:

  • A solo ride takes approximately 20 seconds from door opening to stepping outside of the door on the fourth floor. A group ride right before class takes 45 seconds, more than double of that.
  • Riders almost always face towards the door, unless they are with friends.
  • The time it takes to wait for an elevator varies depending on the current status of the elevator. It has taken up to 95 seconds at times.
  • The behavior of the users also depend on the order they get into the elevator. Early riders will always press the button they wish to get on. Late riders were more often to check the light that indicates a pressed floor, but they usually press the button regardless. 

A design flaw I noticed is that the complexity of the elevator increases depending on the number of people simultaneously using it. There is also the issue of people having to squeeze through others in order to get off on their floors. This is a big problem with the large elevator in ITP due to it's shape. Unlike most elevators which have the door centered, the large elevator at ITP is off to one side of the rectangular space inside. This makes it harder for the other riders to move aside for riders that need to disembark the elevator.

In the readings, there was detail on how aesthetics can make a design feel so much better to a user, even if the functionality remains the same. I can immediately relate to this in regard to elevators. The elevator for my apartment building is very new. It's silver, shiny, and glossy. Even though the functionality between the elevator at ITP and my apartment are approximately the same, the elevator in my apartment feels cold yet luxurious while the elevator in ITP feels familiar and a bit rundown.

Video and Sound: Light and Storyboarding

For the lighting workshop, we were to create a sad photo of someone missing someone else. We used the light to create a shadow for one series of photos. We thought it was not sad enough, so we went to a darker location and made a more depressing photo. Marina commented that it looked like an anti-drug advertisement, so I guess it was semi-successful!

Storyboard for upcoming video project:

Intro to Phys Comp: Week 3 Lab

Below are the on and off states of the Digital Input and Output with Arduino lab. It was fairly simple to set up physically on the breadboard and digitally in the code.

The creative lab was to create a combination lock of sorts. This reminded me of a scene in the movie Batman Begins. Bruce Wayne opens a secret entrance to the Batcave by playing several notes on a piano. I knew I couldn't unlock a secret entrance (yet), so I decided to tweak the idea a bit. However, I first needed to create the "keyboard."

I repeated the switch portion of the lab multiple times to create the keys on a typical piano. I then connected them to different pins so that I am able to digitally read whenever each switch was pressed. The coding portion was also relatively easy since it was just repeating the same lines of code for the additional pins.

I then moved on to the audio portion of the project. I wasn't sure how sound worked in Arduino, so I looked at the toneMelody example in the IDE. This example played a simple melody. In this example, it used an external file called pitches.h that contained all the musical notes. I only needed a couple (C-G) so I just looked for the values of these constants to use in my project. 

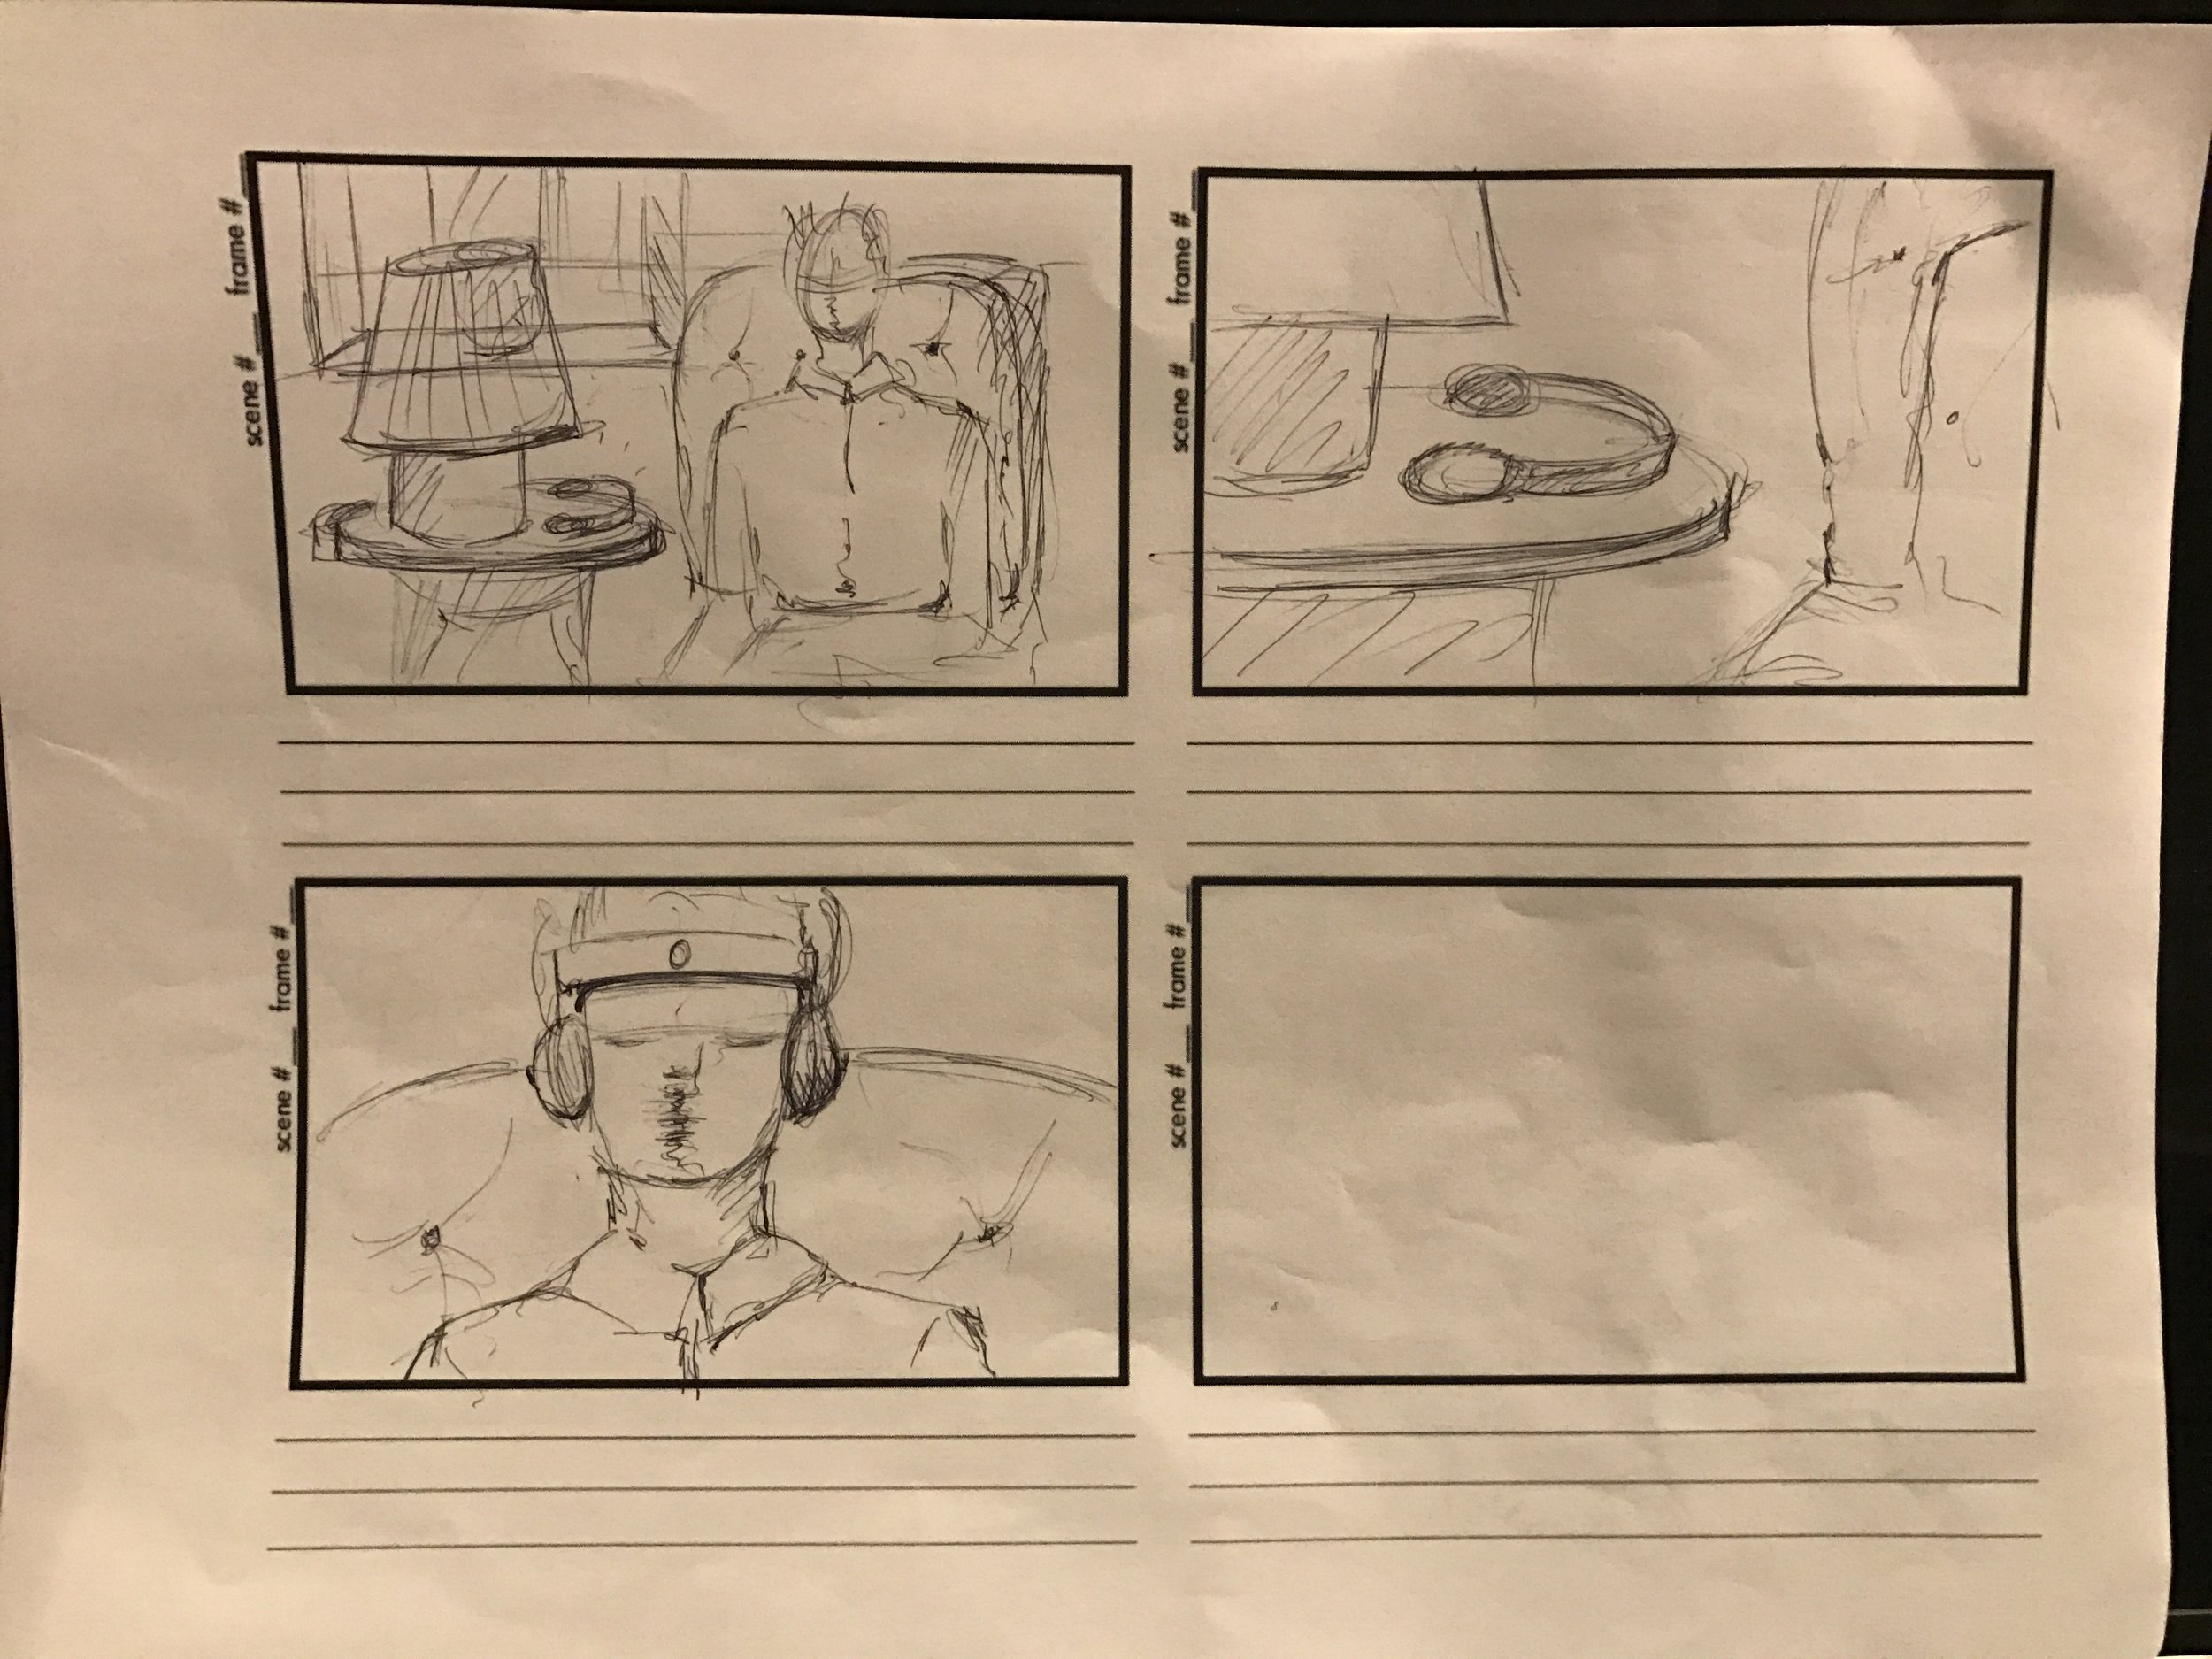
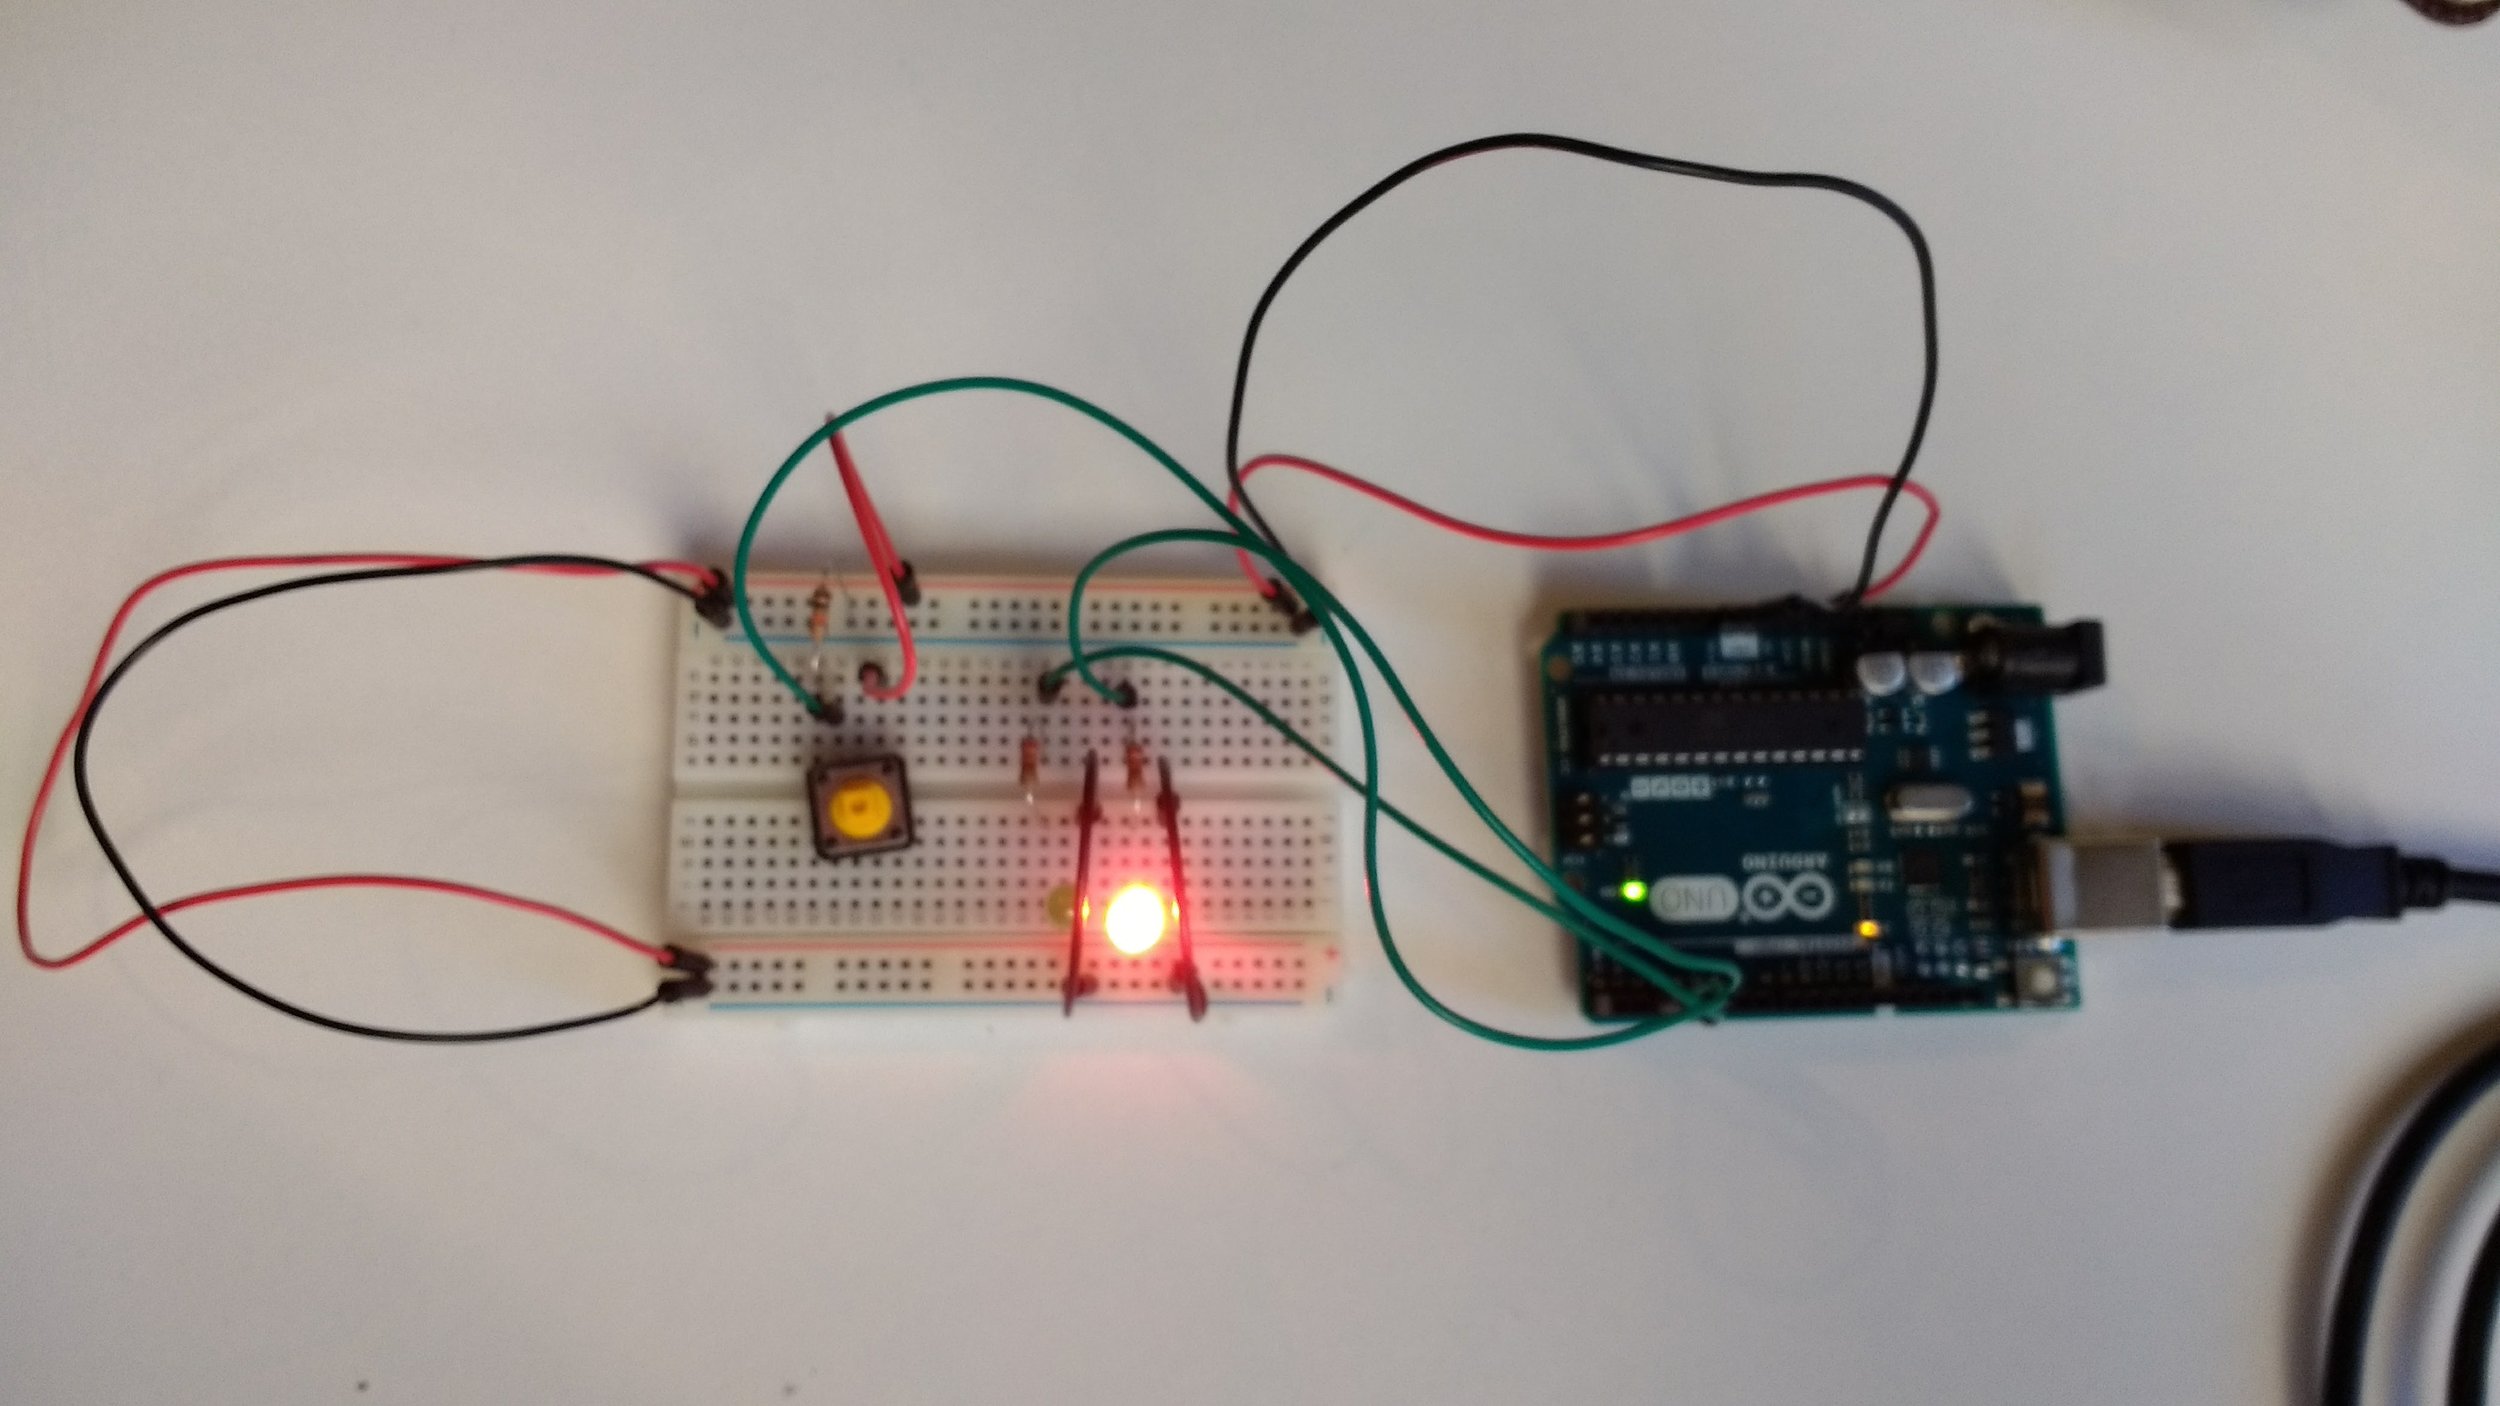
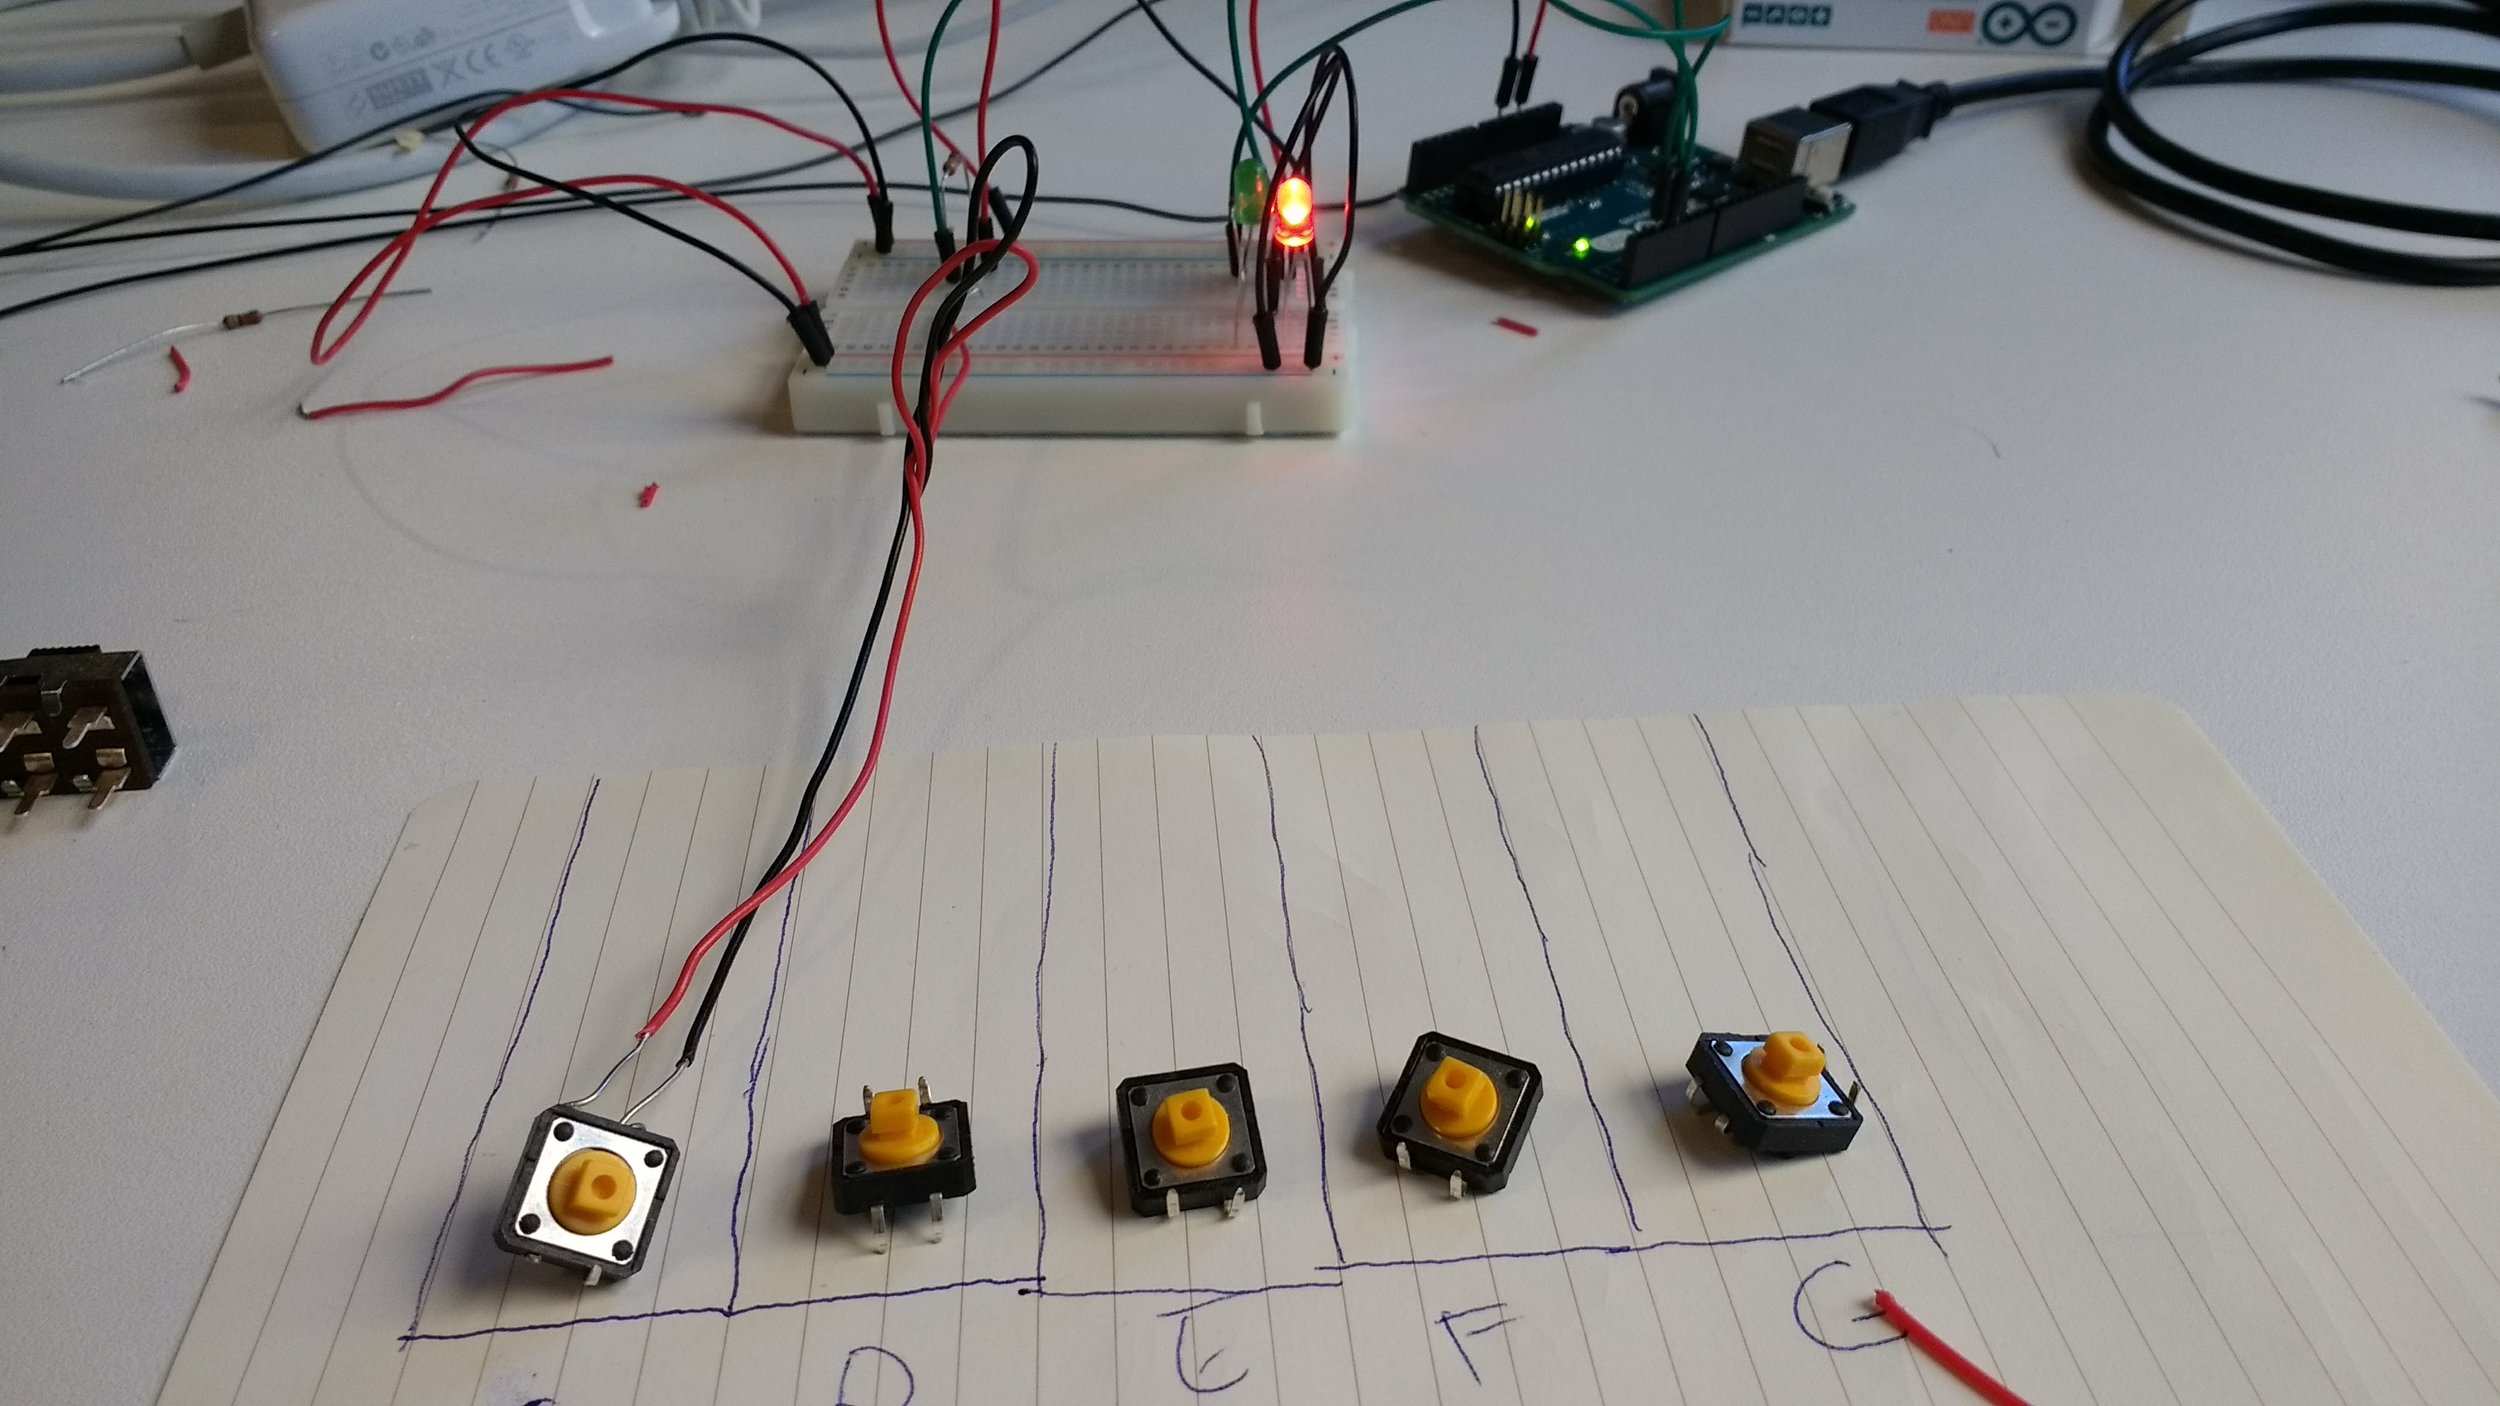
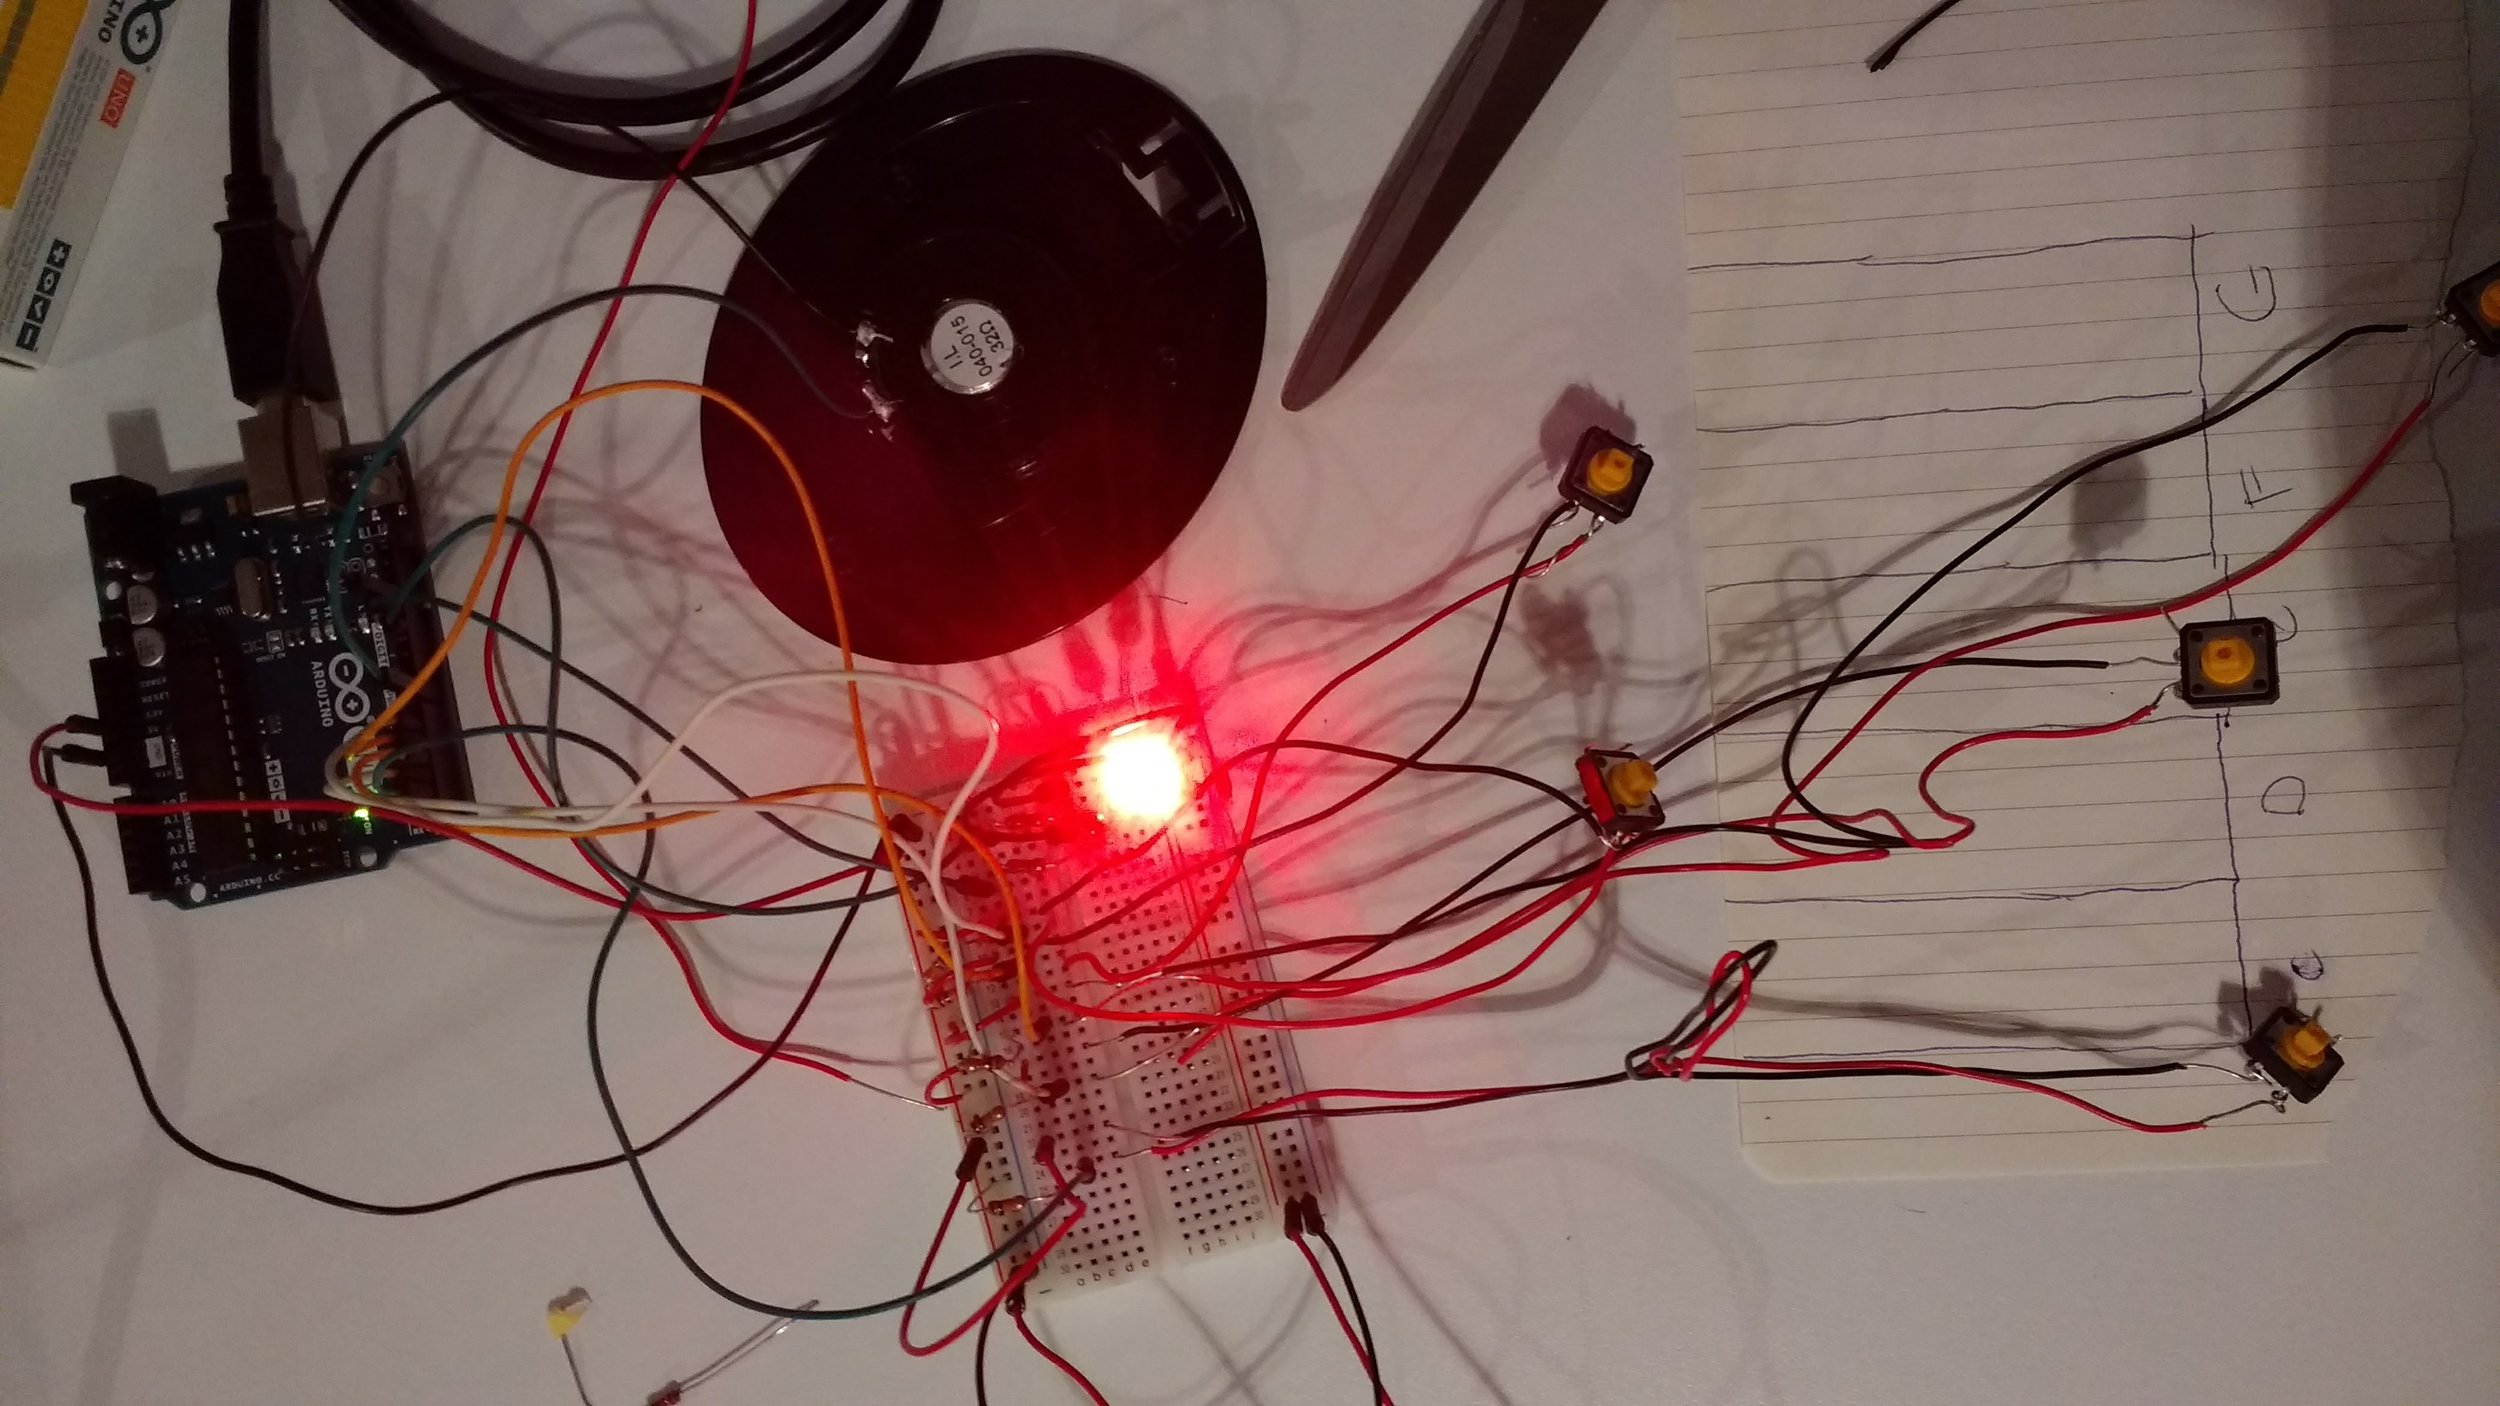
Now that I learned how to implement these sounds in the code, I needed to figure out how to physically play the sound. I didn't have a speaker, so I went to the shop to look for one. The person at the help desk (Aaron) helped me greatly by hacking together this makeshift speaker from a broken pair of headphones. I treated the speaker like an LED light since I figured that digital output, sound or visual, should be the same. I then assigned each switch with it's own pin. And by using digitalRead, I would play a specific tone out of the speaker whenever a respective switch is pressed. 

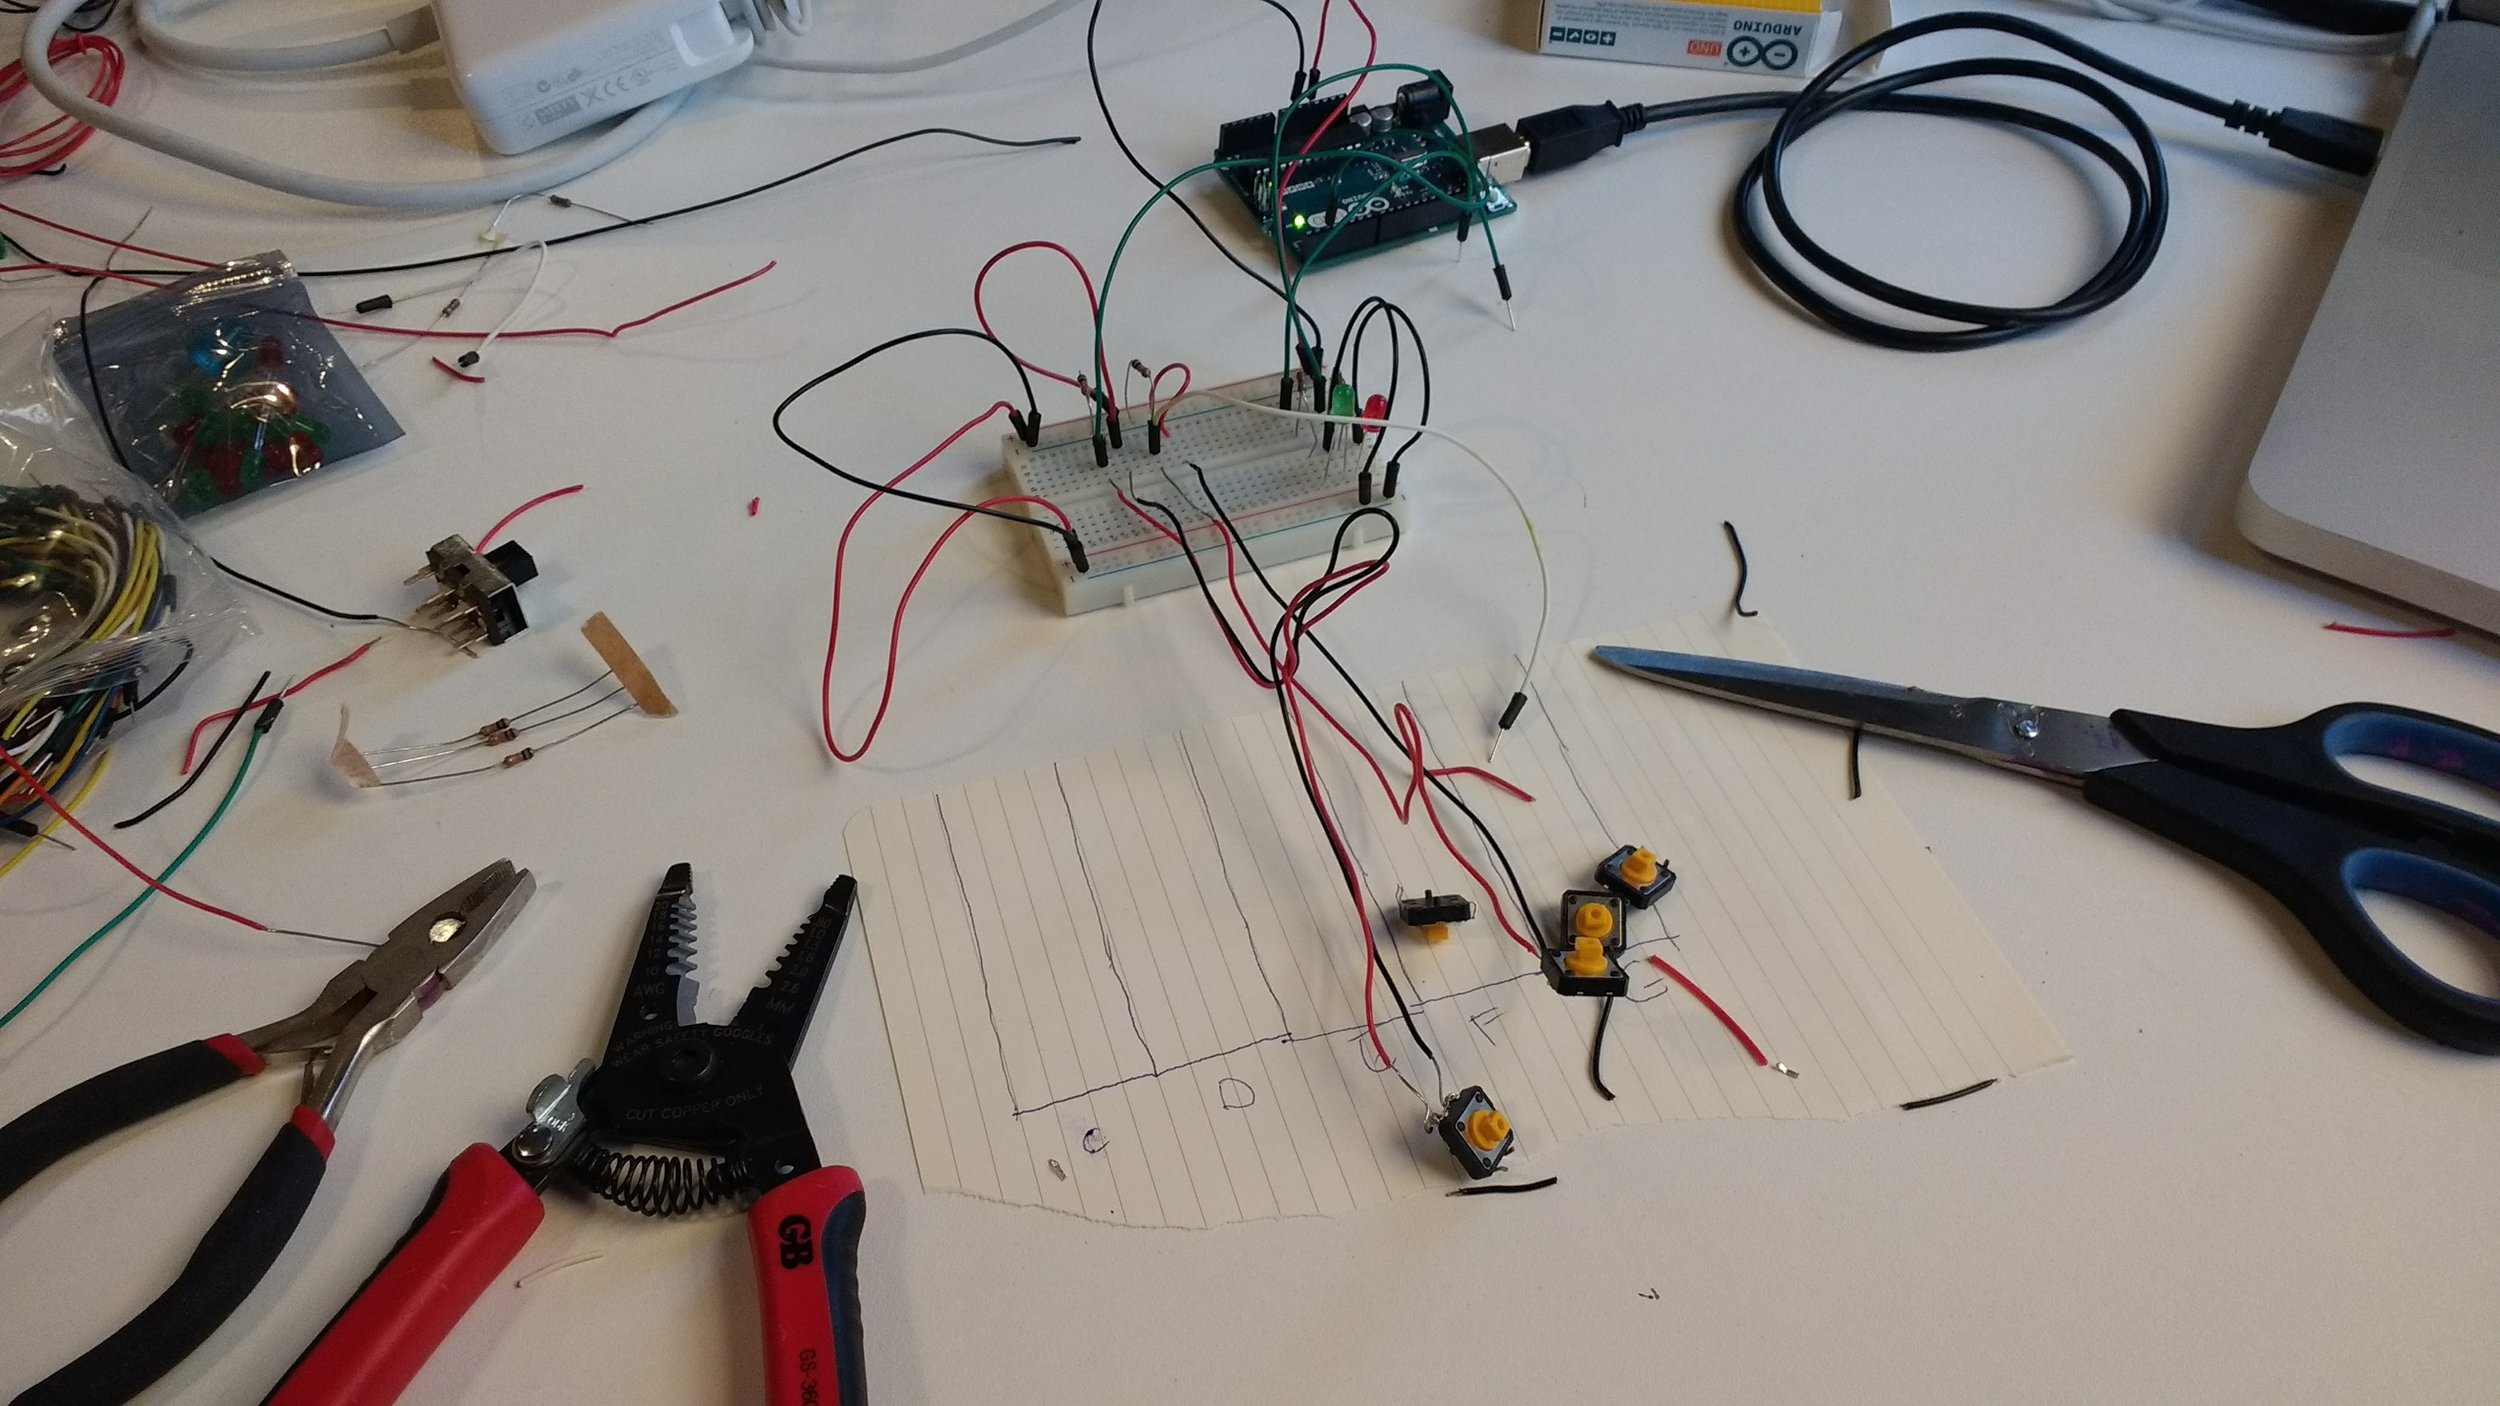
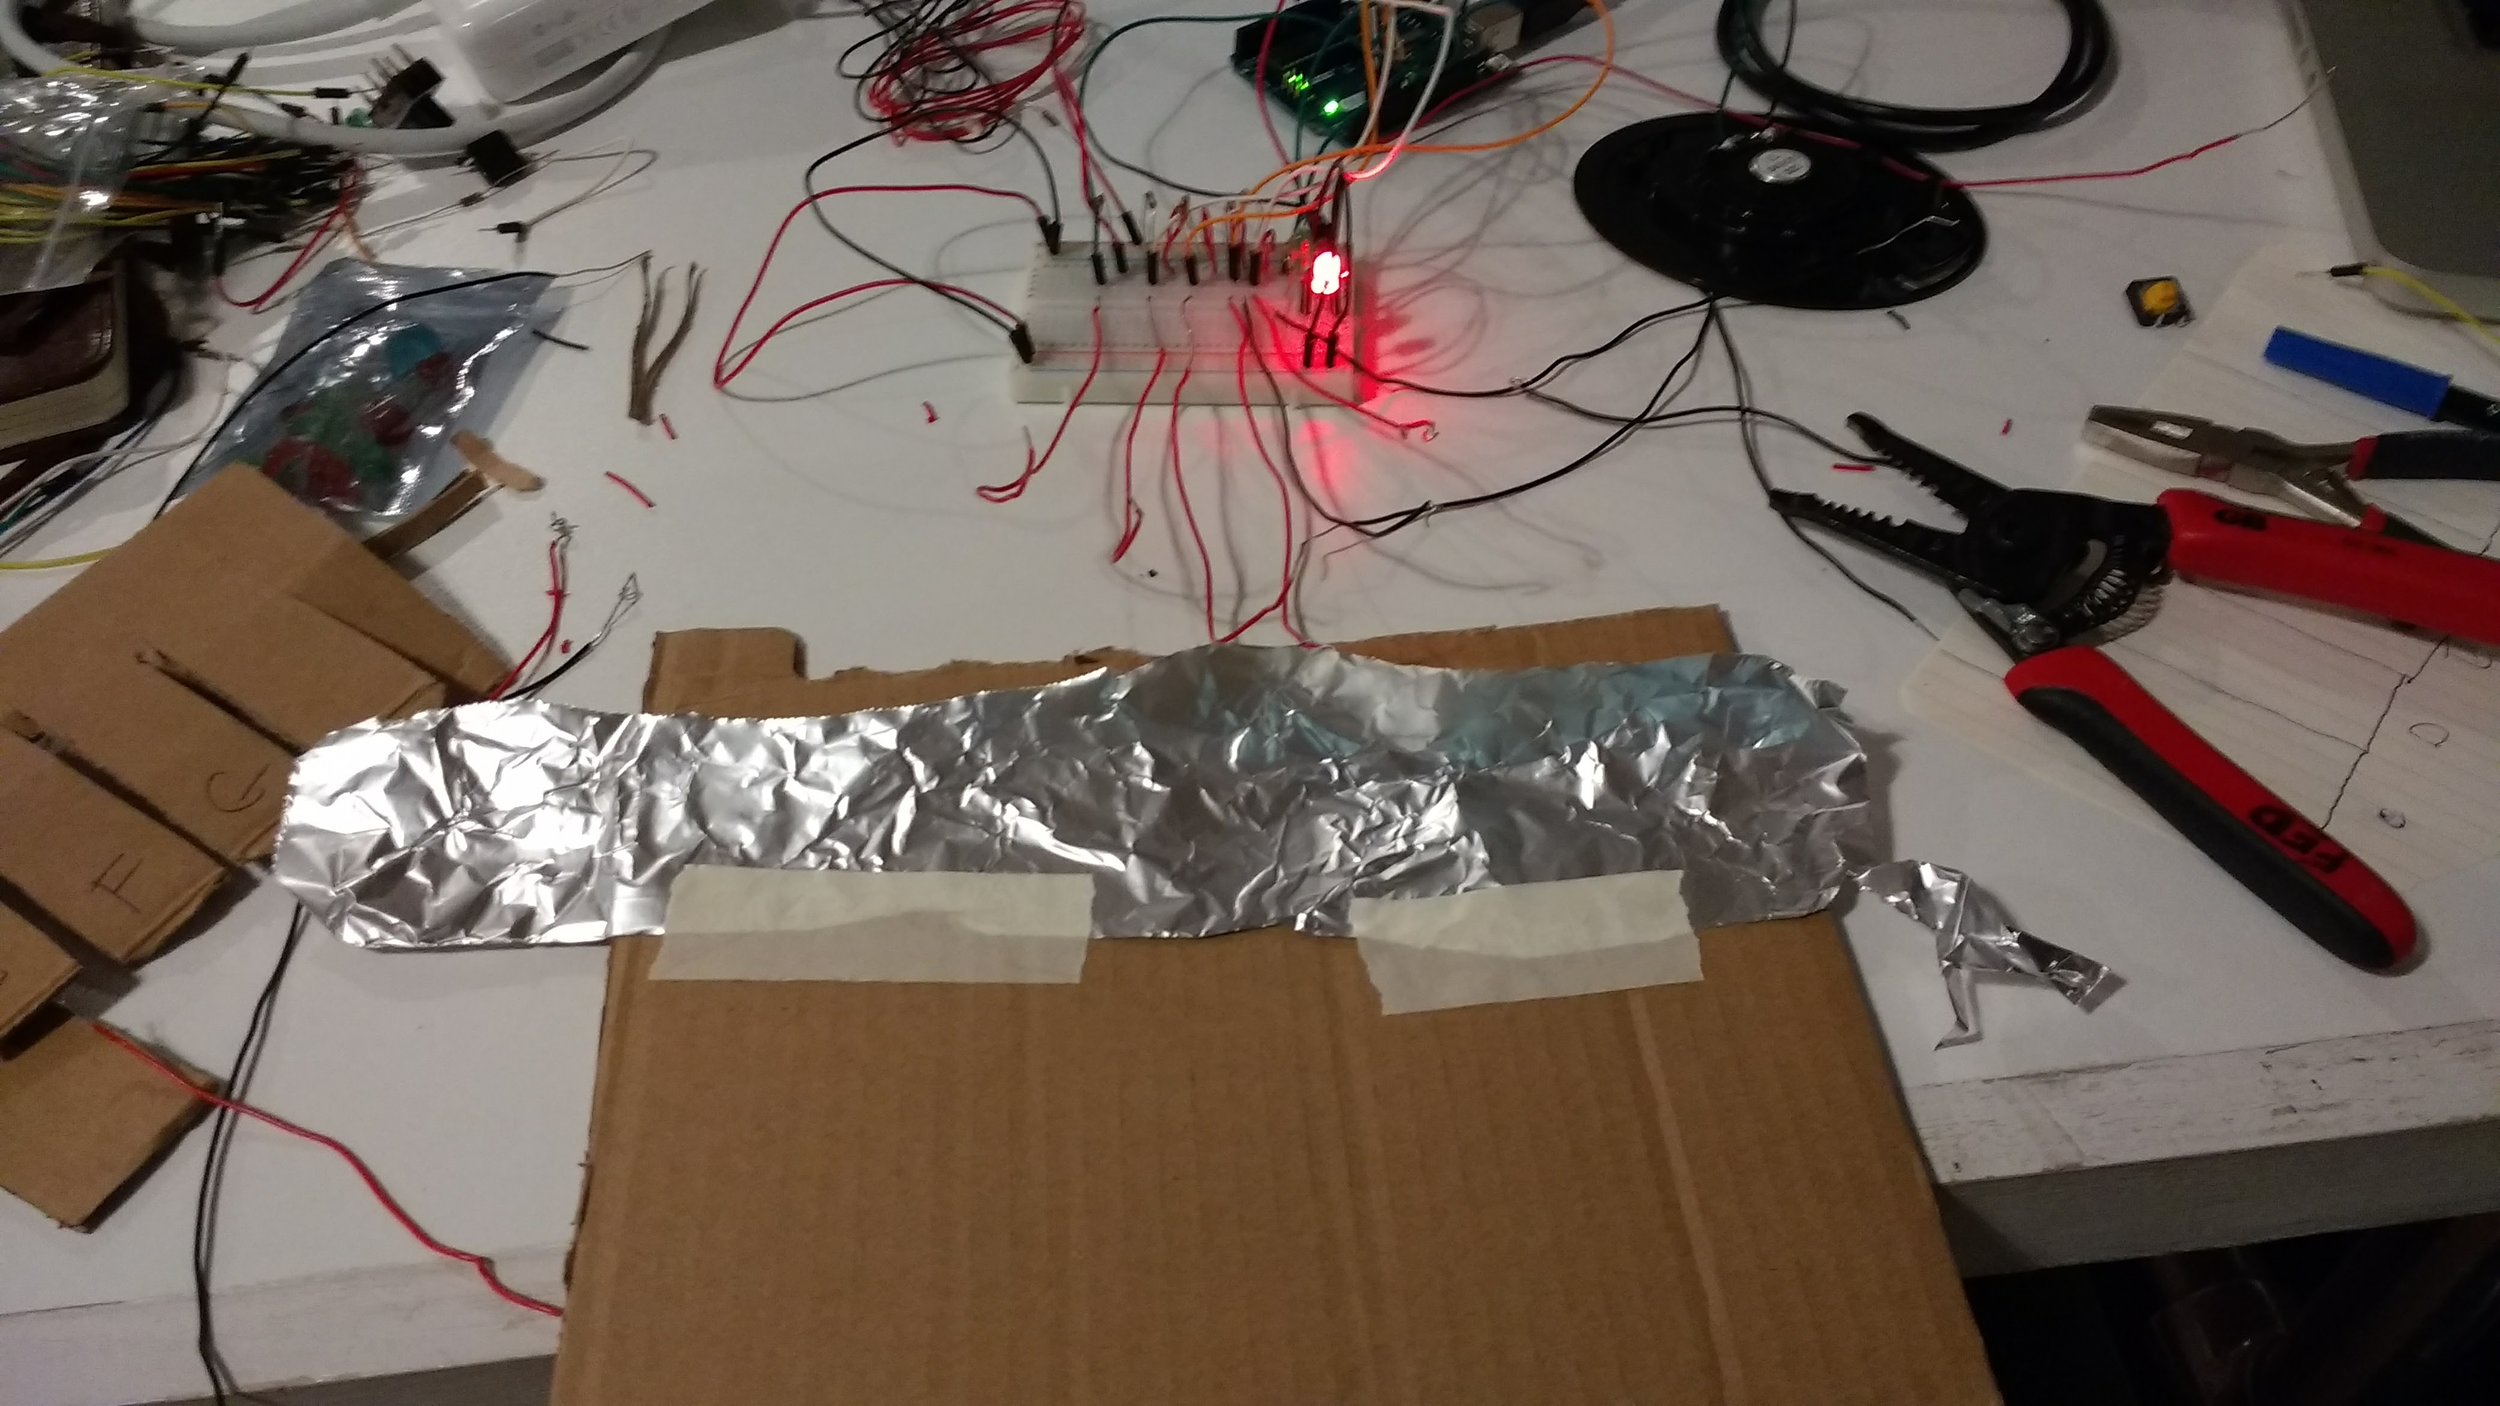
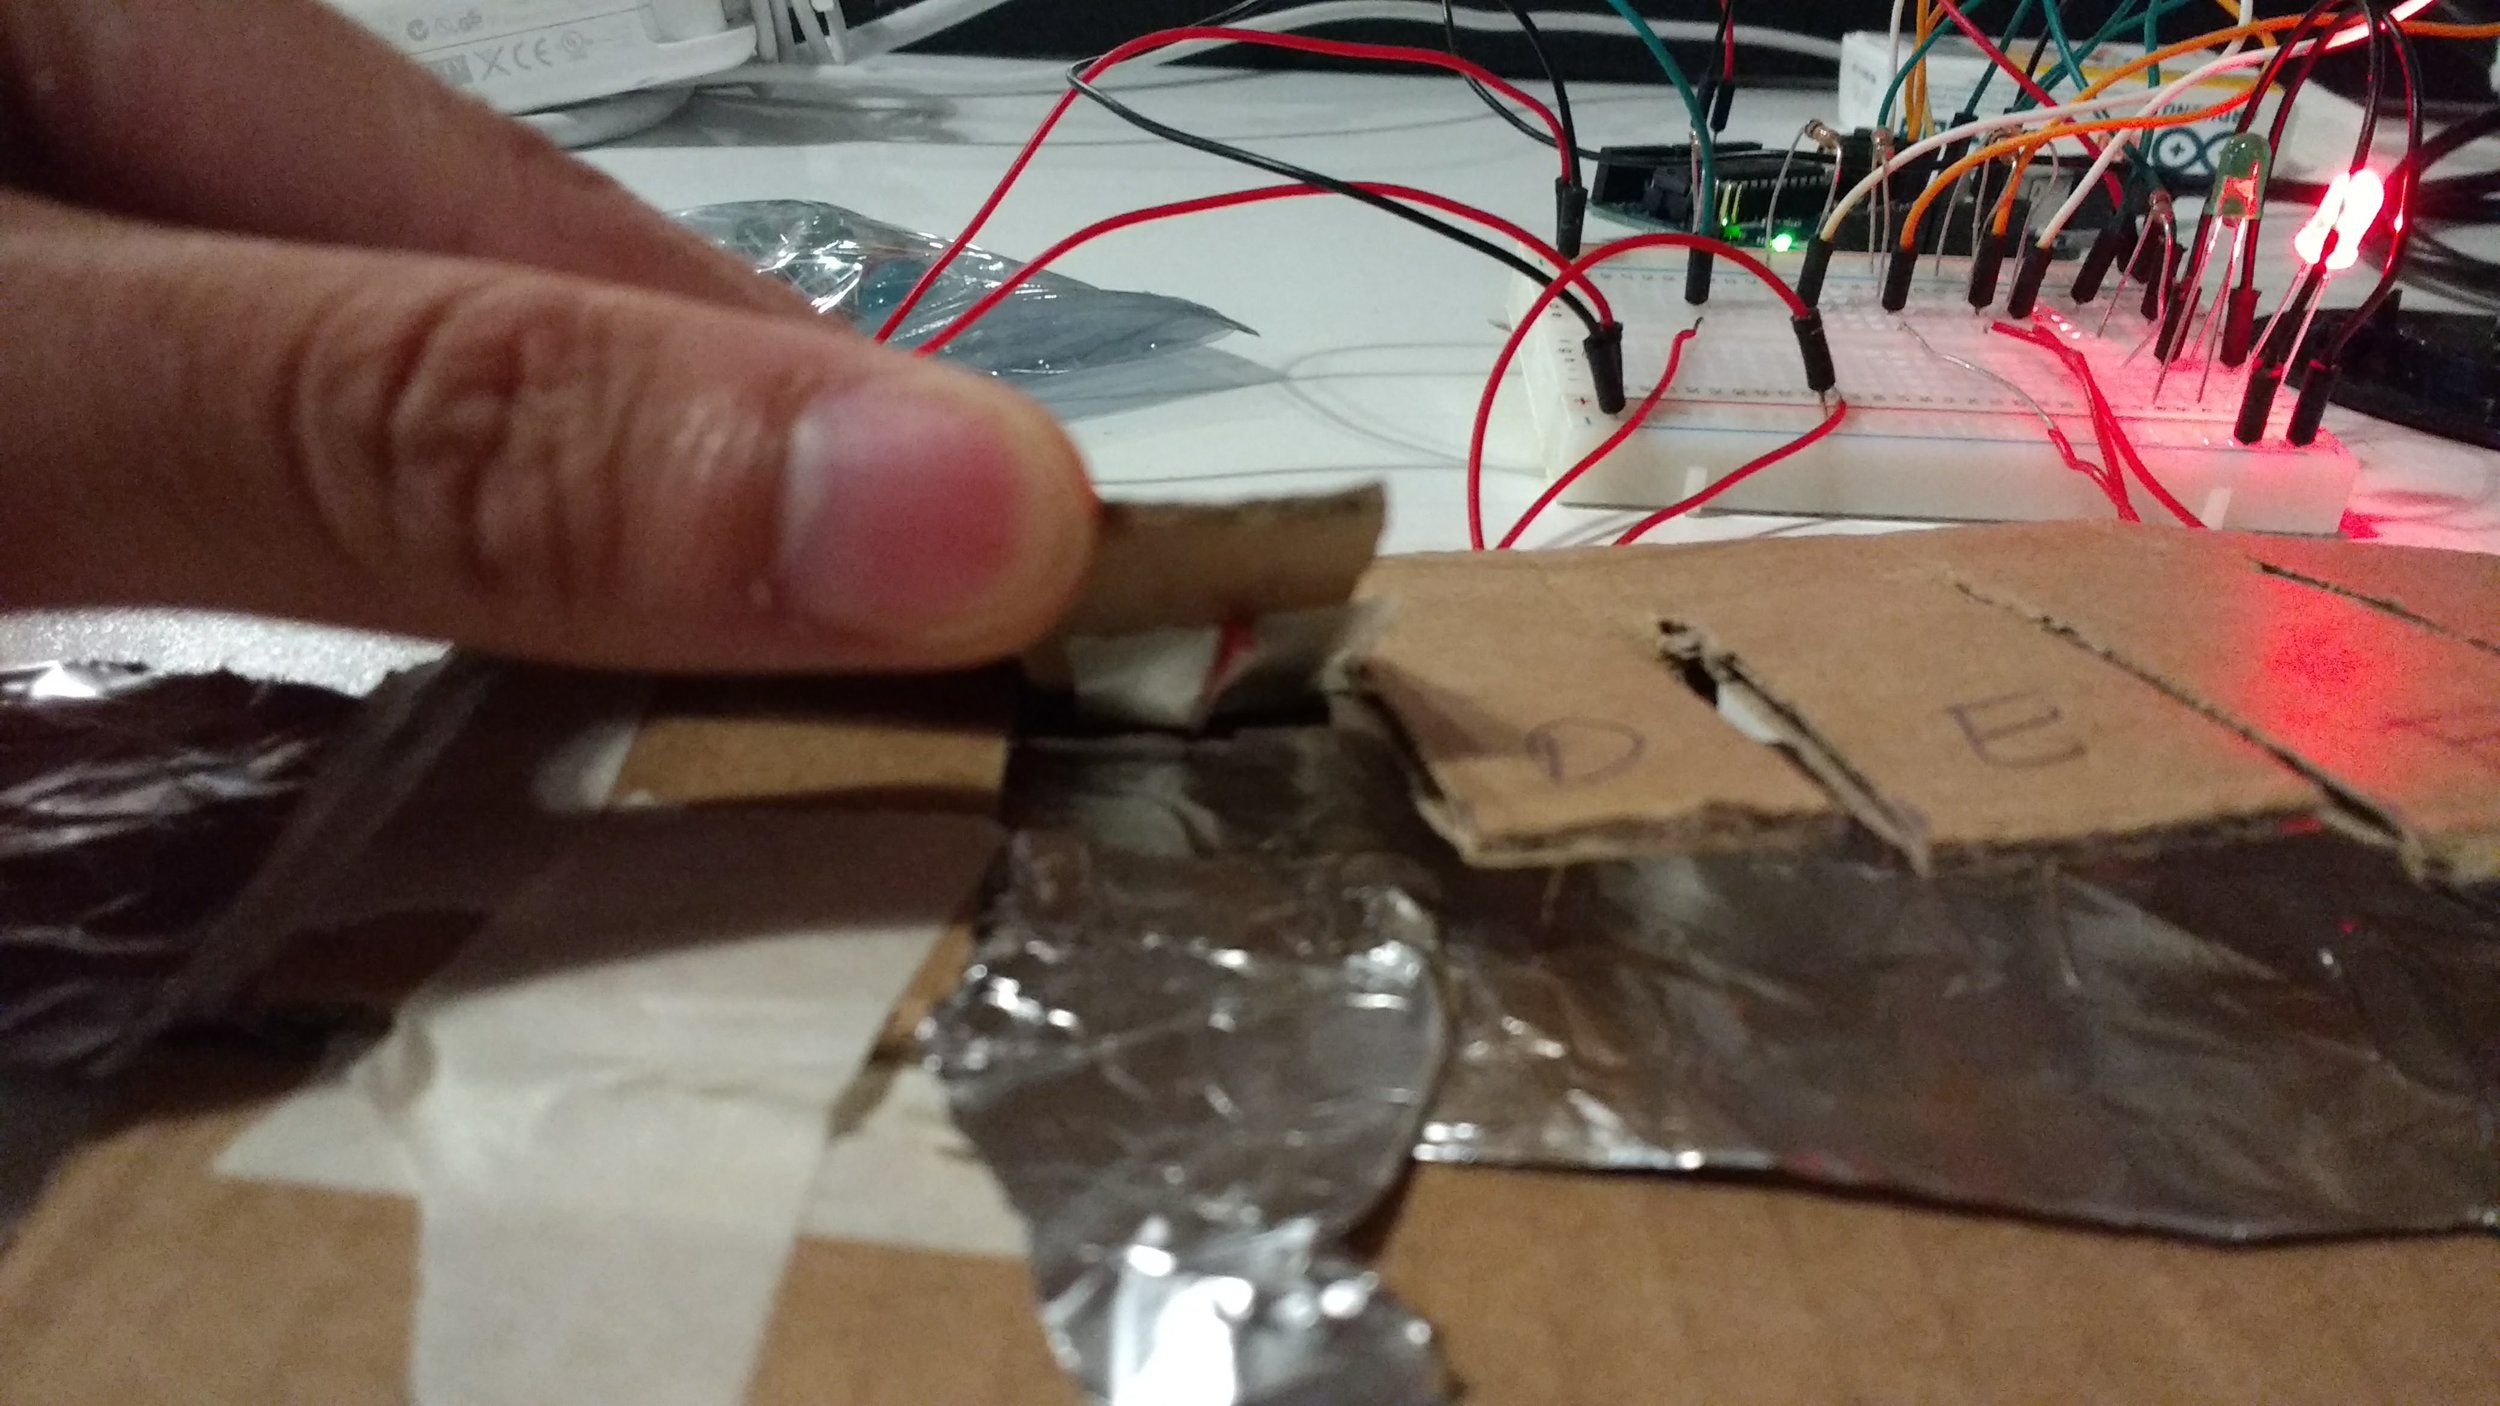
I found that the switches didn't really give me the feel of a piano keyboard. So I got some cardboard, cut some flaps to represent keys, and created a very crude keyboard. I then took off the switches for each pin, and taped the negative wire to the bottom of each flap. I then used a long piece of foil and connected a single wire that connected it to the positive current. By pressing down on the flap, the ends of the wire would touch the foil and complete the circuit for the pin.

I learned that wire management is an artform in itself. Although it worked, my project looked incredibly messy with all the different length wires. I decided to clean it up a bit, which took quite a bit of time since I had to rewire everything on the breadboard. This taught me that I definitely need to prepare and carefully plan the positioning of my components and wires for any future projects.

As for the combination lock assignment, I coded it so that when a specific sequence of notes are played, a secret song would play out. In this case, if the first five notes of "Mary Had a Little Lamb" was played in the correct sequence, the combination is complete and it "unlocked" the rest of the song. 

The most difficult part of the project was to figure out how to detect when a note is played once. Since everything is in a very fast loop, I couldn't just digitallyRead whenever a certain pin was read as HIGH because then the combination sequence wouldn't work. I needed to figure out exactly when a note was pressed AND released. I eventually figured it out by keeping track of two global values that detect when a key is pressed and released. Another obstacle was debugging my project. My combination lock logic was not completely working at first. I ended up adding a lot of printlns to the console in order to figure out what was going wrong. I have added the code below.