I cleaned up the stormtrooper model that I created from PhotoScan using a modeling tool called Zbrush. The process was a bit rocky at first due to the application's user interface and navigation, but it got easier as I kept using it. I eventually ended up with a nicer model.
I then created a new UVMap by first setting the UVMap guidelines along my model's back.

After exporting the now cleaned up stormtrooper, I imported it back into PhotoScan. It looks so nice and clean. I then exported it one final time after building the texture.
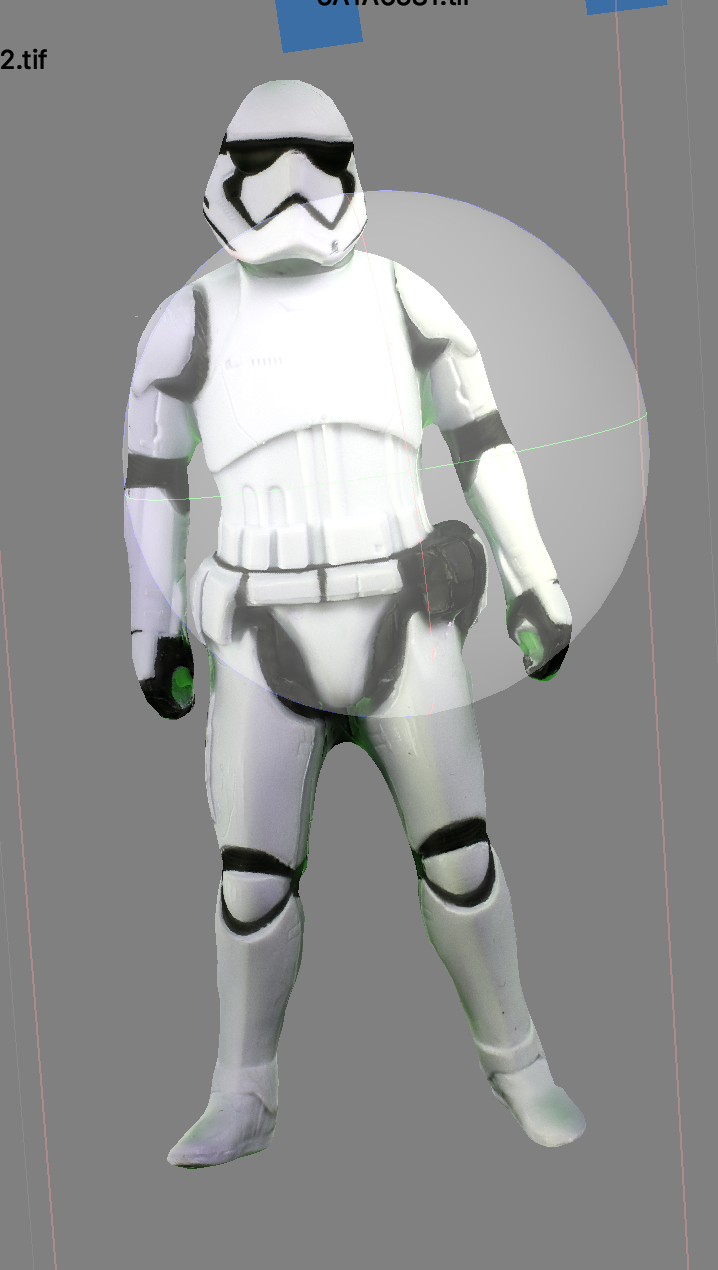
Lookin' GOOD. Still needs a paint job though.

model before... lumpy and deterioating
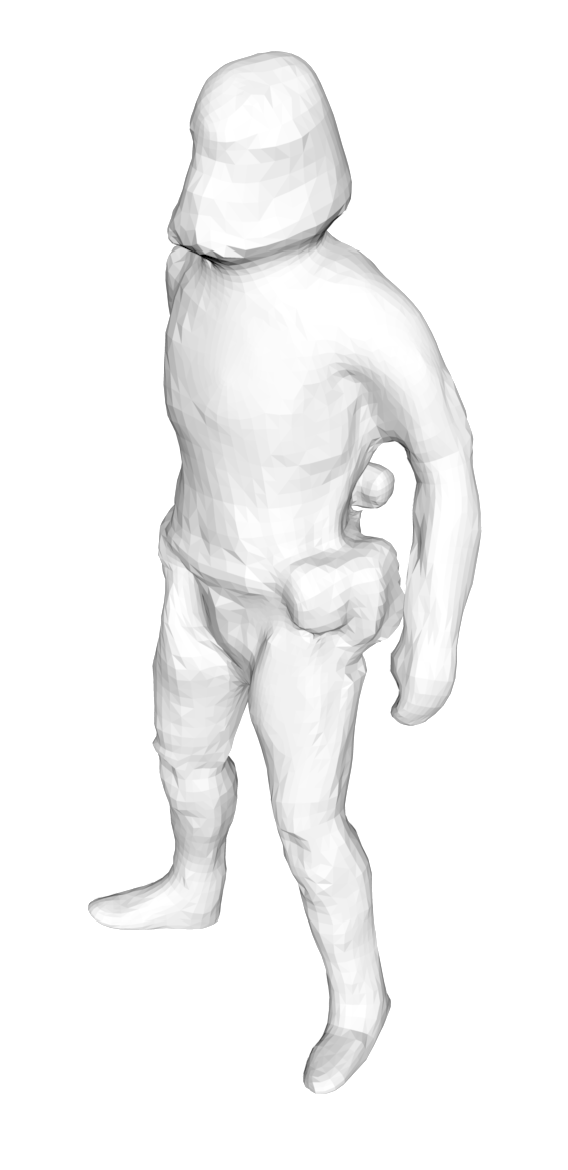
model after! smooth and sexy
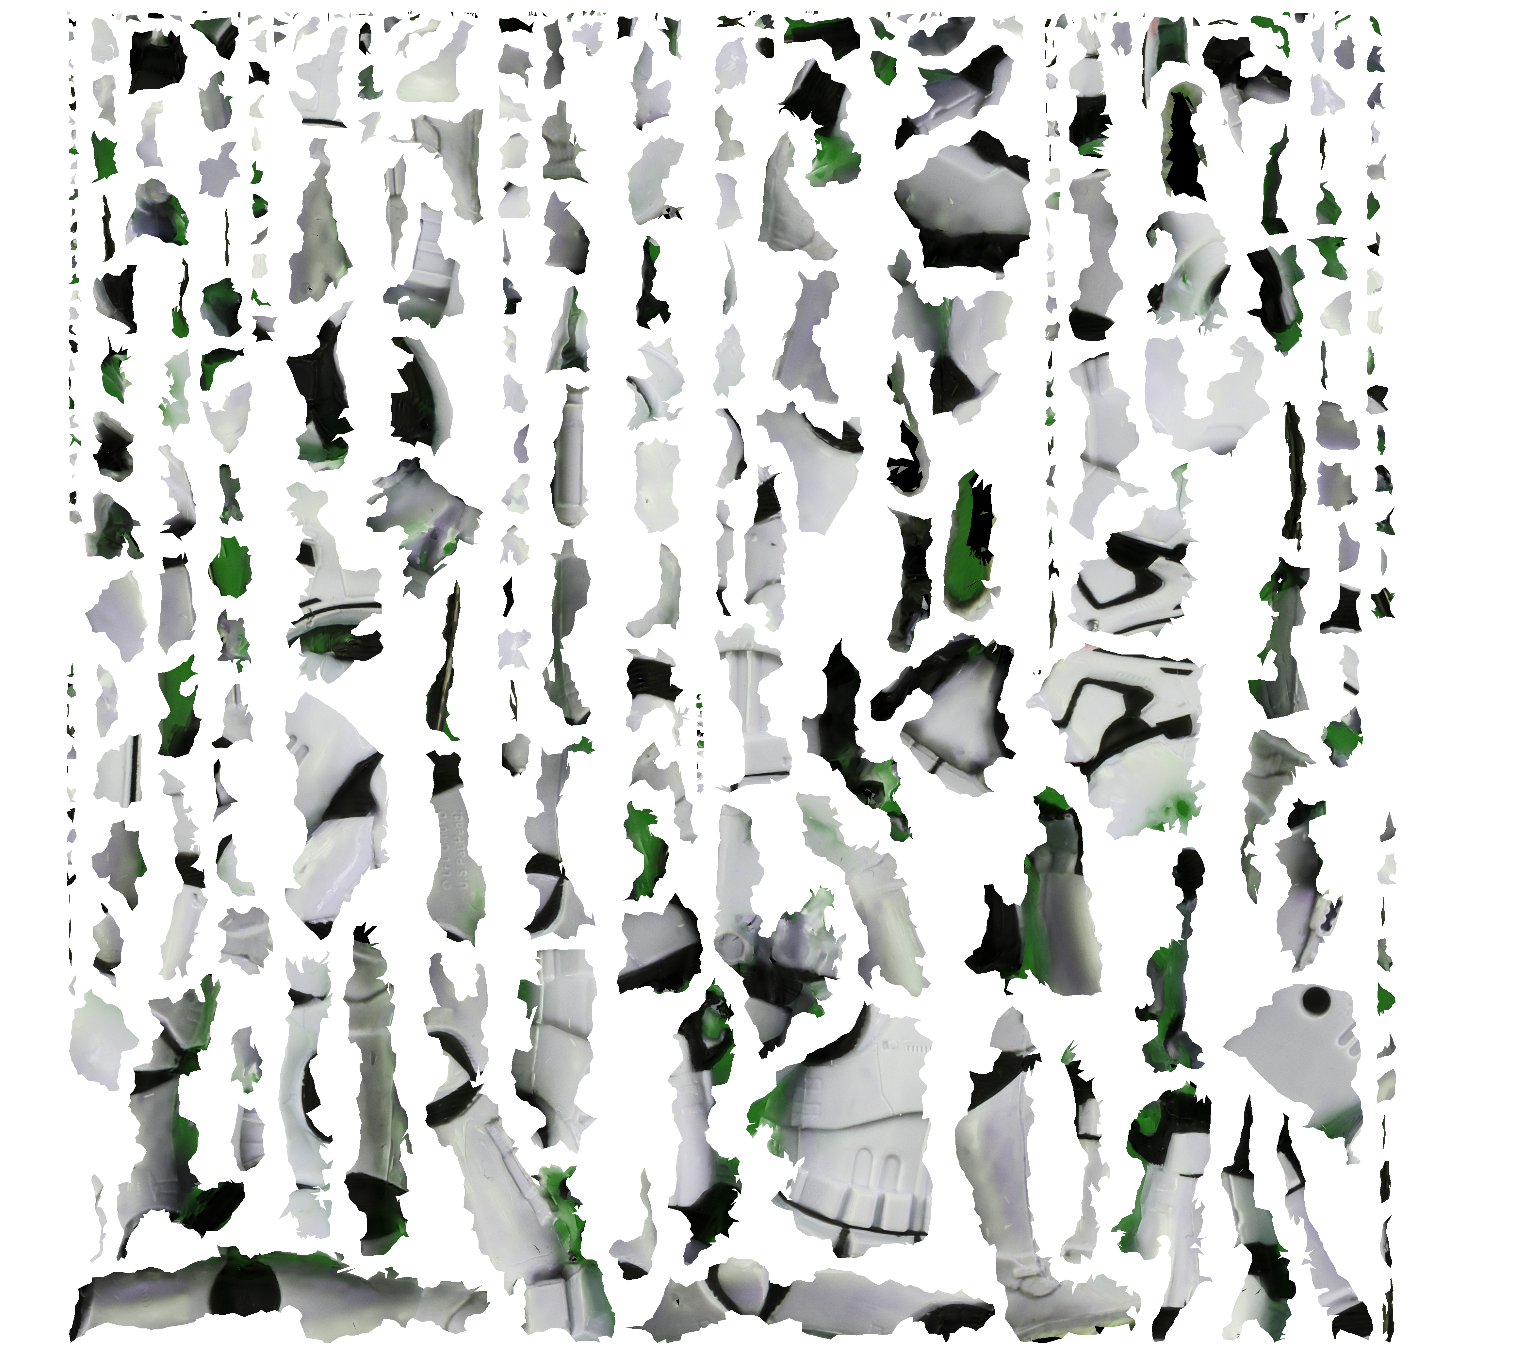
UVMap before... what a mess

UVMap after! what a yes!
Everything looks much better! The model is much better after filling in the parts of the body that the photogrammetry process was unable to scan. The UV map also makes more sense, albeit a bit creepier. There's still some green coloring leftover from the green screen, so I will eventually have to clean that up.
I finally uploaded the new model onto Mixamo and rigged a body to it.

Success!
I noticed that during some animations, the area in between the stormtrooper's arms and body (the armpit area) was too connected, causing some weird body movements. I went back to Zbrush to try to disconnect the arms a bit more. I then edited the UV map in Photoshop. I got rid of the green and thought that it would be cool to invert the colors of the storm trooper. This is the result:


I honestly loved this entire process. Although some of the tools were a bit unconventional to use, I got used to them quickly and it became addicting trying to create the perfect model.